Thursday, September 2, 2021

NO SLEEP TIL ORANGE COUNTY

 All right, I'm ready to talk about it. At first I thought I had gotten off easy. You know the back story, one week before I was to move to California, I took my cousin for a ride in the Falcon. As I blipped the throttle to rev-match a 3-2 downshift, I heard some clatter and the engine died. I found out that while the crank would turn, the valves were not being actuated. I got the car to California, and it sat for a couple months. Eventually I would get around to looking at it and at first glance, it seemed like I just had a cam bolt that backed out, and this had lead to the cam locating pin shearing. 

I should have known that this would go down as smoothly as a kitty litter and bile milk shake.

Accessories off

Timing chain intact, so far so good...

Cam pin as I found it

Formerly a one-piece pin

All ready to line up the timing marks and put it back together, right? Right??

I ordered a new timing cover gasket, locating pin, and cam bolt. The original cam bolt had some messed up threads. So all I had to do was line up the cam timing and re-assemble. It soon became apparent that the cam didn't want to rotate. Normally a cam will rotate quite easily by hand. You could have Chuck Norris hands and this cam wasn't going to move for you. It was time to dig deeper.


Well then...

The rockers and pushrods came off first. The rockers didn't look damaged, but several of the pushrods were looking a bit, shall we say... noodley. Not a good sign, but I still had some hope. When ran a straight edge across the tips of the valves, I could see that a few of the valve tips were lower than the rest, indicating that the valve heads were not fully returning to the valve seat. In short, I now knew there were a number of bent valves. Welp, time to take off the heads and take a look at that. No, wait, I'm getting ahead of myself. Let's check in on the roller lifters to make sure they are ok.

Intake off

Broken dogbones

More broken dogbones

Shouldn't those be attached or something?

 The rollers were not OK. Quite the opposite, in fact. The lifter valley looked like a post-Beastie Boys visit hotel room in 1988.  It seems when the pistons hit the valves, the lifters took a redhead step-child grade beating. On the driver's side bank, every single lifter was thrashed. These were not going to be re-used, at least not without a trip to the recycler's blast furnace. As you could see, every single dog bone (used to keep lifters from rotating in the bore) was broken. For some reason, the passenger side bank was relatively unaffected. Now with the entire valvetrain removed, I figured the cam would rotate.


And rotate it did. Of course I did have to use a bit of persuasion in the for of mechanical advantage. But if I'm honest, it didn't feel so nice to use that much... err, persuasion. I wanted to remove the cam at this point and things weren't going so well. I ended up trying to pull the cam using a homemade screw puller and a big slide hammer. Neither could make it budge. 

Homebrew screw puller

Slide hammer

At this point I resigned myself to the reality that not only was it the end of the road for this cam, but for the block as well. Even if I were able to force the camshaft out, there is a very real possibility that a new cam would be damaged by misaligned cam bores. Also all the partying in the cam bores likely left them damaged. 

 But all is not lost. One of the reasons I chose this engine was because they are ubiquitous in wrecking yards, and ubiquity is adjacent with cheap. I can get a new old short block for a few hundred dollars, so I'll need to do a pick and pull run soon. If I can just get my wife to increase my allowance...

Anyway, just for fun, I popped the heads off to see what that looked like. It was instantly apparent where the pistons and valves had gotten their groove on. So yeah, I'm going to need a new set of valves.

Shiny spots bad

As much as I'd like to get right to it, it will be a little while. But hey, I live in California now so even if it's the middle of the winter when I finally fix it, I can still go drive!


Friday, August 13, 2021

Two wheels good, four wheels bad

Because Grace has been a naughty girl and is still in time-out (and frankly I'm a bit burned out on that stupid car), we're going to do something different today. Like I mentioned in the last post, one of the many motivating factors in returning to California was living near mountains again. I really like mountain biking in part because it helps me stay away from cars.

I started riding mountain bikes back in college, so 12 years ago I bought a bike from a pawn shop. It cost $160 back then and it's been my main bike since then. It's gone through a number of changes, and I've owned several other mountain bikes since then (pictured below) but none of the stuck around for long.

This is the first bike, purchased at a pawn shop.

I then proceeded to upgrade every component

I then bought this Transition Preston and installed all the good components, which was promptly stolen

Shortly after graduating college, I bought this Fezzari Abajo Peak. For whatever reason, I just didn't like it and sold it.

So for 12 years this bike has been my go-to. And it's served me incredibly well. But mountain bikes have changed immensely in the past decade. Well they changed immensely in the decade preceding too. Let's just say since inception they've changed pretty rapidly.  I was ready to join the modern age and enjoy all those changes... sorta. See, mountain bikes are expensive, and if they are high-end, they are really expensive. Add to that a global bike shortage, there's no way I'm affording a minty-fresh-off-the-showroom-floor bike with all the goodies. Besides that, I've never bought a new mountain bike and I'm not about to start now!

Old Bike

So I started looking around, and had my eye on a Trek Remedy or Santa Cruz Bronson. Both bikes are mid-travel with 150mm suspension, and run 27.5" wheels. My old bike has 26" wheels, which every  mountain bike had back in the days of my youth. Today, almost every bike has 29" wheels. For whatever reason, I decided that 27.5" was the size for me. They don't roll over obstacles as well as 29ers but tend to be more agile. I wanted a bike that had a more playful character rather than just absorbing everything in my way, and the aforementioned bikes had that reputation. Then while visiting Mammoth Lakes, California, I stumbled upon a good deal on an older (but still modern) Santa Cruz Bronson in my size. I took it for a test ride and was convinced. So here she is, the 2014 Santa Cruz Bronson C.

New-fangled tech parts 1 & 2: Carbon fiber frame, 27.5" wheels

New-fangled tech part 3: Remote dropper post. Get that pesky seat out of the way for descents with the press of a lever on the handlebar.

New-fangled tech part 4: 1x drivetrain. Ditch the front deraileur, shifter and chainrings. The sprockets in the rear have a 500% gearing spread.

During the ride I noticed that the fork didn't feel amazing, but I chalked it up to the suspension not being set up for me, and also needing maintenance. I did the much-needed maintenance and tried to tune fork for me, but I couldn't quite get it where I wanted. All my past experience with Fox forks had been quite positive but after a little research I found that lots of users had complained about this fork. Normally you can count on Fox to make really nice products, this fork just turned out to be enough of a turd that fox made an air spring retrofit kit for those customers who called the tech line to complain. And though it's been out of production for 7 years, they still had a few retrofit kits in stock. So of course, I couldn't not do it!

Pre-operation

The culprit: the adjustable travel air spring

On the operating table, next to the transplant

Body cavity open

inserting the lower half of the air spring retrofit kit

inserting the upper half of the air spring retrofit kit.

all greased up and ready for re-assembly

Post-op, with the diseased organ to the right

Another interesting product I came across was the oval chainring. As you probably know, bikes have a power stroke, not unlike that of a combustion engine. Each leg will alternately provide a power stroke on each revolution of the crank. But again like a combustion engine, there can be dead spots in the revolution where power is not effectively transmitted to the drivetrain. An oval chain ring shortens the effective radius of the chainring during the dead zones, and lengthens the radius in the power zones. In theory it should smooth out the power delivery to the rear wheel, decreasing wheel slip and improving efficiency. Does it work? Who knows, but it seemed worth a try and I needed a smaller chain ring to compensate for my flabby state of physical fitness.

Did it all work? I think so? The problem with being so out of shape is that the uphill climbs leave my sad little legs and lungs so tired that it's hard to be really perceptive. I can say the fork felt much better and the reduced tooth count on the chainring was an improvement. In any case, the biggest improvement is goint to be fixing the loose nut behind the handlebars.

Local trail test run

With all this work going into the new old bike, you might think the old old bike is feeling left out. But I'm not cruel, I still have love for the old bike. I had noticed that the air spring on its fork was losing air. So I tore it down and found that there was a tiny blemish in the top of the air spring piston that was leaking. I think there was a bubble in the plastic casting and after 14 years of hard use it began to leak. I cut away at the area and filled it with the cheapskate's secret weapon, JB weld. It's not like Fox had that part in stock anyway. So I replaced a few seals while I was in there and put it back together. With a little luck, this fork will last me another 14 years and at that point will be a historical artifact.

Air spring fixed with JB weld

Air spring seal. These are no longer made, luckily I found a bike shop on ebay that still had them.

A pan of nasty old fork oil.

All back together and slick as butter

Good as new. ish.

I have a confession to make. It hasn't been all mountain bikes lately. I have actually worked on the car. But I don't want to talk about it.

Sunday, June 13, 2021

Woodrow Wilson, America's Worst President and other Sordid Tales

 To any of my loyal readers who showed up at my house to claim their popsicle for reading all 100 posts, I apologize. You probably came to my door and knocked and knocked but to no avail. And for that I am sorry. I moved back to California.

Grace in front of the Michigan house the last time I saw it

 Sooo yeah, the last couple months have been rather eventful. For the past few months the wife and I had been looking at job opportunities in California. The past year and a half of pandemic, lockdowns, and other nonsensical world events precipitated by nonsensical policies got us thinking a lot about life. We both had good jobs, and a great house that we loved. But the distance from family was hard, particularly during the pandemic. Now I do have a cousin who lives in Michigan, and he and his wife have been real MVPs (Michigan's Valuablest Personages). We had won the neighbor lottery as well. We are going to miss them terribly, but we wanted the kids to be able to be around their cousins and grandparents more than once a year or so. Michigan winters are also pretty miserable. I mean the weather is bad, but that's not the worst of it. The social hibernation is a  total life suck. Now for a garage hermit like me, that's not intolerable, but my wife is a social creature. Me, I missed the mountains both for the mountain roads (Grace was always intended to be a canyon carver) and the mountain biking.

Just a couple weeks before #2 was born, an opportunity to transfer to Orange County came up in my wife's company, and shortly after he was born it was made official. I had been looking unsuccessfully to find an automotive engineering job in California for a few months. Then just a week after #2 was born, a former colleague at Toyota who I'd been talking with via LinkedIn asked me if I wanted to apply for a contract position within Mercedes Benz R&D. The rest is history. I started work just last week and will be working on Sprinter van diesel emissions controls. But let's back up just a bit...

A week before we were to move, I had finished work at Toyota and all our effort was going into packing and prepping the house for sale. Oh, and keeping the children alive. Just one of those tasks is exhausting, but we were trying to do all three. I thought it would be nice to have my cousin and his family over on a Sunday night so we could hang out before moving day and I could take my cousin for a ride in the newly functional Falcon. The weather was nice, the intakes were singing, and the transmission was shifting oh so smooth, and then it happened. I blipped the throttle to downshift into second, and I heard  a couple horrible clanks, the engine lost all power, and I came to a stop. The engine was barely running, and so I shut it off. Then when I went to restart, it refused to fire.

Tow trucks are the coolest!!!!

Eventually the car made it home on a tow truck. Not so exciting for me, but #1 thought it was the best thing ever. He's very into tow trucks. I made friends with the tow truck driver who was terribly disappointed that we were moving the next week. 

When I got a minute, I took a look at what might be wrong. The cranking sounded offbeat, so I took a log of the time between teeth on the crank trigger wheel. This crank trigger is a 36-1, which means you would expect to see a fairly consistent time between 34 teeth, and then see one time period that is roughly double the average time period for the previous 34 teeth. 

What we see in this data log is roughly the pattern I described above, but with one small exception. during each of the cycles (35 time periods) there were 2 very short periods. This meant that at a certain point in the engine's rotation, the crank was spinning much faster than the rest of the rotation. I figured this meant that the crank was spinning, but the cam was stationary. If the cam were stationary, that meant that on two cylinders (opposite each other in the firing order) with their valves propped open in a similar fashion were causing this recurring fast spot in the cranking. For a visual confirmation, I popped the rocker cover off and cranked the engine. The complete lack of motion in the valvetrain confirmed that indeed, the cam was not moving.   

Well it's all fine and good to know this, but it this threw a terrible wrench into my plans for shipping the car. I had already arranged to have the car shipped, but shipping a broken car is far more expensive than shipping a running car. I may have been able to fix it, but attempting to do so would have netted me a furious spouse, at best. The updated quote was $800 more than the original quote for the running car. I didn't really like that idea, so I shopped around and found a broker who said they'd ship it for $250 more than the original quote. This turned out to be a mistake. I waited two full weeks for the broker to tell me they found someone who would ship my car but it would be yet another $550 dollars. I almost feel bad for the guy on the other end, who received a tongue lashing. I ended up going with a different broker who I had spoken to previously, and while the price was the same, he was at least honest with me. And then a week later, covered in sticks and leaves, but all in one piece, the old lady arrived at the party!

So here she is, and here she'll sit for at least a few more weeks. Perhaps after a routine is established in this household I'll find some time to revive the problematic old girl. In the meantime, stay fresh and remember: Without Woodrow Wilson, there would have been no Hitler.


Thursday, April 8, 2021

Variation on a Theme by Tremec - The T5 Pocket Bearing Conversion

Last time we were here at the blog, I had just triumphantly finished my interior and taken my boy for his first ride in ol' Grace. Things were looking good here on the blog. But just like the flawless feed of an Instagram influencer, in reality, things were not flawless. Just one day after I got the interior together I experienced extreme crunchiness in the gearbox.

This was not a good crunch, like the crunch of a tortilla chip, or a deep fried hundred dollar bill. No, this was like the crunch of dead spiders, and it was present in all gears except 4th. I limped back home not particularly thrilled at the prospect of spending more time and money on a transmission that had no more than a couple hundred miles on it. In any case I knew I'd have to tear down the transmission and inspect the dead spiders within. So out it came...

Once I got it out, the teardown very quickly showed the issue. In the T5, the input shaft and main shaft are co-axial, and the front of the main shaft (91 below) is supported by a bearing (63 below) in the back of the input shaft (62 below). Any time the engine is running and the transmission is not in 4th gear (4th gear simply locks the input shaft and main shaft together) these two shafts run at a different  speeds, so when I saw the state of these bearing rollers, it became abundantly clear why there was so much noise in every gear except 4th.


T5 World Class pocket bearing as the design engineers intended

T5 World Class pocket bearing as mangled by me

The death of a main shaft

Fuzzy magnets are never a good sign, especially when accompanied by free-range roller bearings

Many little bits of mangled bearing passed between these gear teeth

I pulled the transmission apart and began to ponder what to do next. I guess I'm getting old because as I looked at the junkyard T5 option, I found myself muttering and griping about how back in my day, we could get a T5 at a junkyard for $150 and now it costs $300 for an already broken transmission. Old person or not, I already had a broken T5. Paying someone else to rebuild the transmission was going to cost me $700 or more depending on parts, and I'm a cheapskate who doesn't trust people to work on his car. I then talked to the guy who built this transmission six years ago, and he said he could sell me a new input and main shaft for $350, and then I would need new bearings and a counter shaft in addition. None of these options were really doing it for me.

A friend had mentioned that I could look into modifying my transmission to use a Cobra T5 pocket bearing. The T5 that was used in the 1993 Mustang Cobra used a tapered roller bearing in the input shaft pocket, as opposed to the loose cylindrical rollers and thrust bearing used in the regular T5. It may provide a little extra stability and strength to the transmission, but I have no evidence either way. It turns out both the input and main shaft can be machined on a lathe so that they can accept the Cobra bearing. I have a friend who recently bought a lathe who was willing to try this modification. I couldn't find any detailed drawings on to show exactly what needed to be done, so I made my own. You can find those below.

Input and main shaft stripped down and ready for machining

Cobra T5 pocket bearing

Cobra T5 pocket bearing modification

Cobra T5 pocket bearing input shaft modification detail

Cobra T5 pocket bearing main shaft modification detail

At this point I took the parts to my friend and we found his lathe to be too small for these parts. Next I turned to my trusty assistant, Craigslist, where I found an ad for a guy doing small machining jobs out of his garage. For $130, he modified my input and main shaft to meet the drawings I provided.


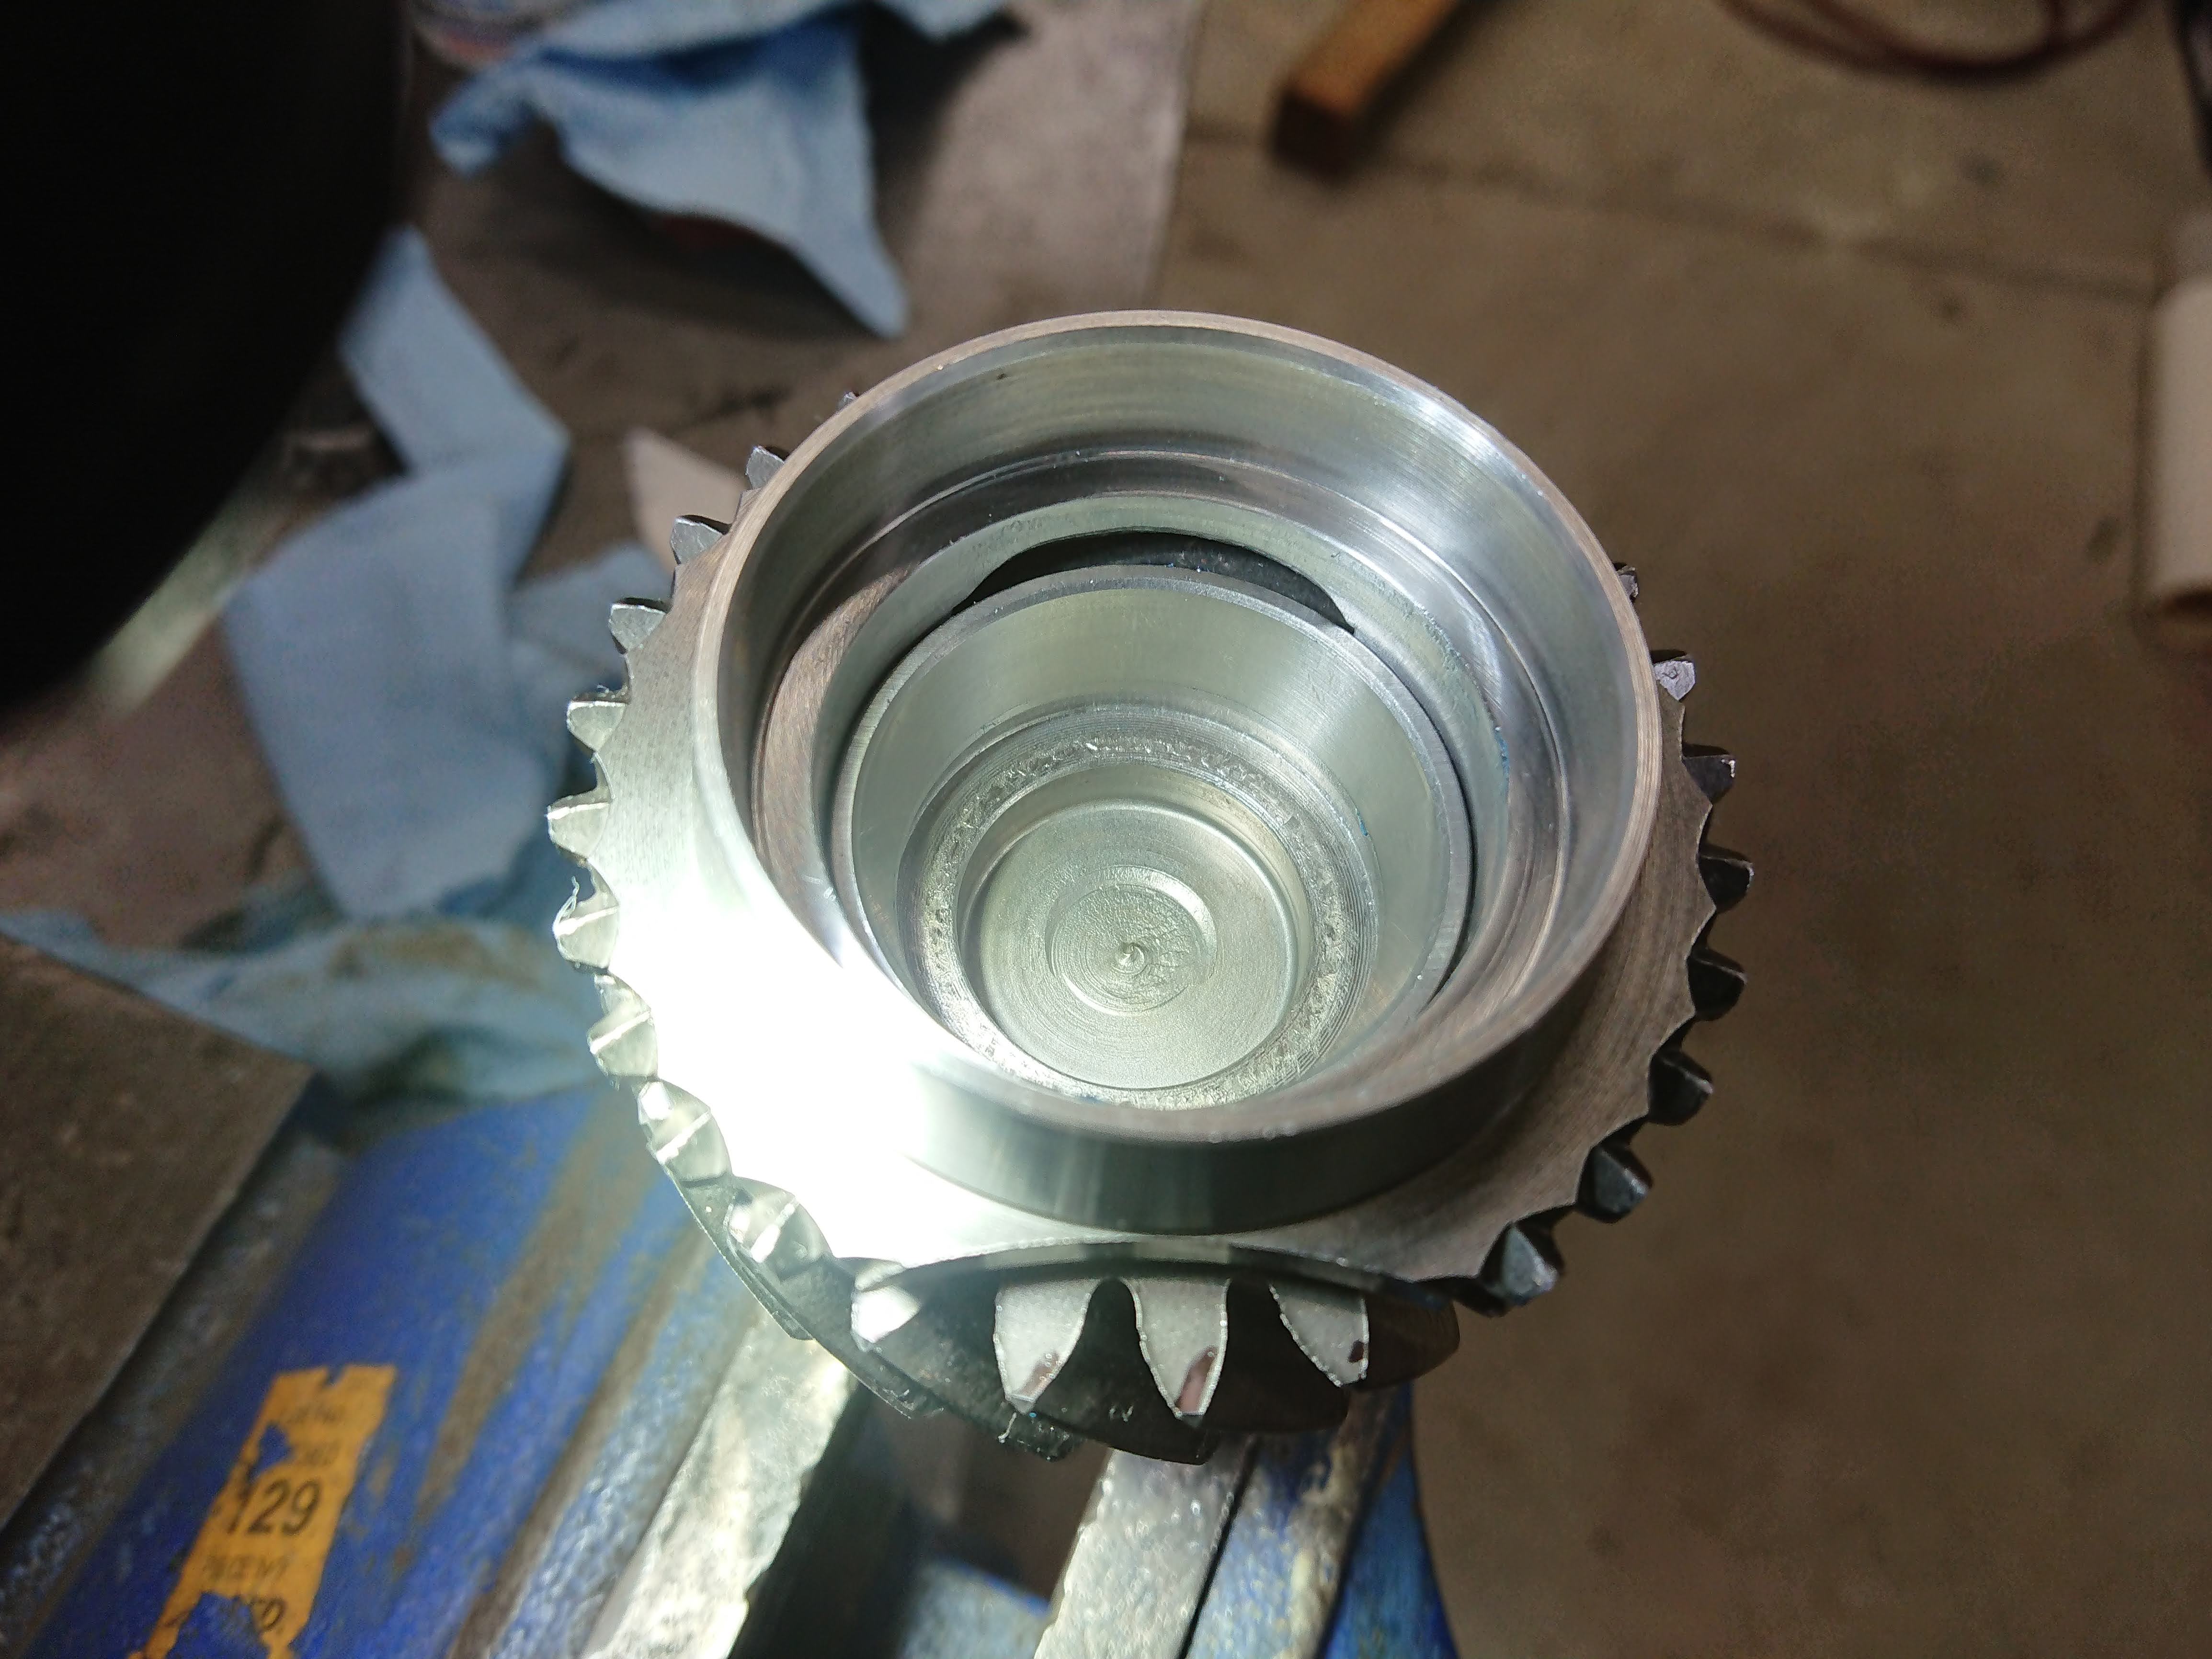
As I inspected the fit of the bearing into the input shaft pocket, I noticed the slot in the side of the pocket which allows lubrication to the pocket bearing was mostly blocked by the new bearing race. Out came the die grinder to open up a path for fluid flow into the pocket.


pocket lubrication access slot

precision machining

modified lubrication access slot with bearing race installed

One other (totally unnecessary) modification I made to this transmission while it was out was to add provision to read input shaft speed via hall effect sensor. There isn't really a good location to read input shaft gear teeth directly but any time the input shaft is spinning, the counter shaft is spinning as well, and at a fixed speed ratio. In my specific transmission the gearing between input shaft and counter shaft is 23/34, or about 68%. The sensor port is at the third gear location which has 29 teeth, leading to a final count of 19.61 teeth per revolution of the input shaft.

Why do this? First off, because I'm a mega-nerd. Second, recording input shaft speed would allow me to accurately understand clutch slip during take off and during gear changes. Third, an input shaft speed sensor is necessary for the implementation of auto rev-matching. I don't have immediate plans to add that feature, but I may want to play around with it in the future.


Thick pad on passenger's side

Tapped to 3/8 NPT

View into the case at 3rd gear teeth on counter shaft

 Now it was time to begin re-assembly. With over four months between teardonwn and re-assebly, also not having any experience with the internals of a transmission I was a little unsure of myself. Thankfully there are some really good YouTube videos on T5 rebuilding. I watched them over and over prior to and during the build. This turned out to be an effective preparation and the build went smoothly.

Synchronizer assemblies and assorted other parts

Main shaft during assembly

Assembled main shaft

Top: old counter shaft   Bottom: new counter shaft

Setting pre-load with laminated shims. Peel to achieve correct thickness,

Countershaft retainer intalled

Main shaft installed

Rear view of trans case, showing overdrive gears and shift fork

almost fully assembled

Measuring original shim thickness

Setting input shaft pre-load with laminated shims

All together now!

I finally had the transmission fully assembled, or so I thought. Then in the wee hours of the night as I lay awake thanks to my newborn son... oh wait, I guess I should address that. We had another baby boy! #2 was born just over a week ago. He's super cute and has quickly learned the first thing that humans have to learn: to eat with one's mouth. He's working on the second lesson: the difference between night and day. I will say that he's actually doing quite well with this as well. He still wakes up every couple hours to eat and poop, but I'm probably getting almost six hours of sleep each night. And as veteran parents know, that's actually pretty good! So he's awesome and mom is healing up so we're pretty happy with all of that.  You might wonder how I'm able to work on the car at all with a new baby and a toddler. The answer is a very kind mother-in-law who has come to stay with us and has been incredible. 


Anyway... where were we? Oh yes, I was just saying that in the middle of the night I remembered that there is a small plastic part called an oil funnel which is inserted into the back of the countershaft. When I swapped in the new countershaft I had neglected to swap the oil funnel as well. I'm not sure exactly what this piece does, but I assume it has something to do with funneling oil, and oil tends to be important in transmissions. So I popped the tailshaft housing back off and installed it. Nice and easy, didn't take more than 20 minutes.

Ok so now the transmission was all put back together for real. No extra parts on the bench and no missing parts that I could find. I'm not 100% sure why this transmission disintegrated the pocket bearing in the first place, but I suspect it was one of two things. First, I think it was a little low on trans fluid. Second, the input shaft was probably not properly supported by the pilot bearing. When I originally drove it into the pocket in the rear of the crankshaft, I drove it a little deeper than should have, so now I needed to get it back out to the right depth. 

Pilot bearing in crankshaft pocket after being driven back out to correct depth.
A witness mark on the ID indicates the input shaft may have only engaged half the bearing.

Pilot bearings can be a bit tricky to remove. I think the "right" way to do it is with a slide hammer, but that has potential to damage the bearing. I tried a method I'd heard about but never tried, and that was to pack the crankshaft pocket with wet shop towel and then use the metal clutch alignment tool and a hammer to create pressure behind the bearing an drive it out. This actually ended up being a pretty good solution and I was able to drive it back out a little more than 1/4". I'm now confident that the input shaft is fully supported.

The magic of shop towels and hydraulic pressure.

The heavy lifting came next. Getting a transmission in place is always a bit of a challenge, especially when working alone, but with a little creativity, a ratchet strap, some wood blocks, and my floor jack, I was able to get it bolted up during a lunch break while working from home. One day I'll stop fooling around and just make a transmission adapter for my floor jack and make this job easy. 


Later that night I took care of all the loose ends like bolting up the slave cylinder, exhaust pipes, and driveshaft. I also filled the transmission with fluid. The World Class T5 uses ATF (the older non-World Class T5 uses gear oil), and in the past I've typically used some sort of synthetic ATF. I'd been doing some reading on the topic of which ATF is best and decided to move away from synthetic, and actually start using Type F ATF. As long as I've owned this transmission, shifting has felt a little too notchy and slow. It always required more force than I felt was comfortable. My theory is that the synthetic ATF is too slick, and the synchronizers didn't have enough friction to shift well,. Type F ATF has some friction modifiers in the fluid to further increase that kind of friction. 


I used another trick I'd heard of but never used to fill the transmission. I drilled a two holes in the cap and inserted a rubber hose through one hole down to the bottom of the bottle. The  other end went into the transmission. I then applied about 5-10 psi into the bottle via the other hole and the pressure quickly pushed the fluid into the transmission with very little mess. I highly recommend this method.

At this point I could check to see if I was successful, but it was already 10 PM and I actually like my neighbors. Well, let me be clear: I like my neighbors so much that I only let the engine run for 30 seconds. Three feet forward, three feet in reverse and I was satisfied that nothing was horribly wrong. Then the next morning I took it for a drive. It drives as good as it ever has. The engine fires right up without any trouble, and the shifts are nice and smooth (for a T5). No unexpected noises were heard, and no terrible smells were smelled. 

That freshly rebuilt transmission feeling

Well folks, this is the Centennial post! We've got 100 posts spanning eight years. If you've been reading along the entire time I am honestly impressed. Come to my house and I'll give you a popsicle. And if you really do exist, dear reader, let me know what you want to see from the future of the blog.