Monday, May 23, 2016

The drawer of Jeremy

Today is all about finishing what you start. It's something I'm pretty big on. I'm not always quick, which is why a bachelor's degree took about nine years, and a race car that should have taken a summer took four years... But it's almost always worth it to finish. 


The first thing I finished was suspension adjustment. It's not fine tuned, that will come with time, but last week I told you about adjusting the rear coil overs. It made a huge difference in ride quality and this week I adjusted the front coil overs. I was also able to do this adjustment at work, where we have a vehicle scale which meant I was able to do a rough corner balance. I won't get too deep into what a corner balance is but if you are interested in learning more, Grassroots Motorsports has an excellent article on it. In the end I was able to achieve an almost perfect cross-weight without the driver.


Nonsense scribblings in an attempt to find the appropriate settings
Perfect Crossweight: FR+RL = FL + RR

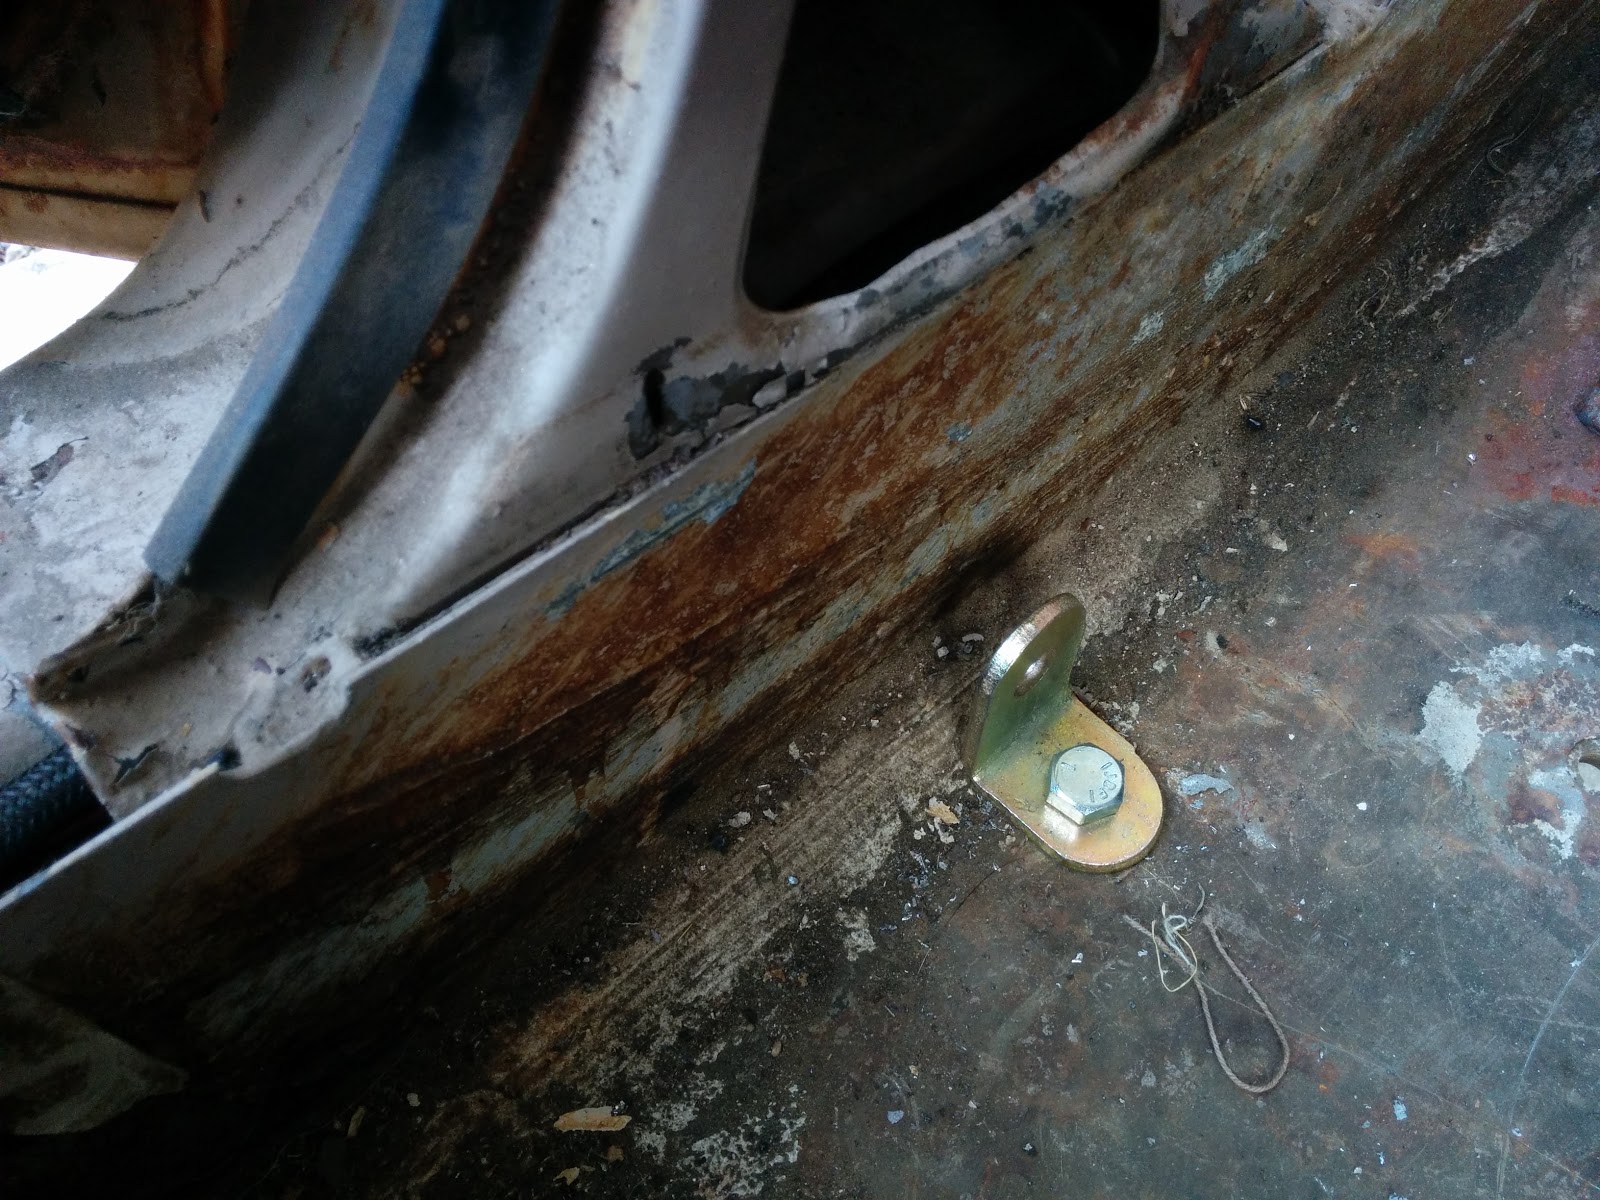
This is also the post where Grace gets her final stitches and the surgery which started over two years ago is completed. Ever since I got her running, I've been cruising around in a Flintstonian motorcar. The floorpan was not entirely steel, and the last hole was covered by the saddest excuse for a floormat I've ever seen. It must have been taken from the clearance rack at The Family Dollar. It was in my Jeep when I bought it. I actually got a discount on the Jeep because these floormats were so bad they reduced the value of a $2000 Jeep. But enough about the floormats, let's talk about a metal cone! 


While I all too often show you my escapades in using the wrong tool or making my own, there really is something to be said for using the right tool. I made this half-cone out of a sheet of metal I got for $5 with a little assistance from a sheet metal brake. 


The whole process was pretty straightforward, as you'll see below. A bit of trimming here, some patching there, a visit to the drawer of Jeremy, and four hours later, I had a complete transmission tunnel. I also had a first time experience: I started myself on fire with a grinder. I've started myself on fire with a welder several times, but using a grinder to do the job was a first.


Finishing the suspension adjustment and tying up the floorpan modifications both made a huge difference in how Grace feels. She's starting to feel like an actual car, not just some janky middle school science fair project. The suspension is now compliant, and I'm not afraid for my life when I see a seam in the concrete, or a Taco Bell wrapper. Closing up the floorpan blocks out a significant amount of noise (don't worry she's still painfully loud inside the cabin at speed) and will allow me to slowly start inching towards having a real interior.

Until next time, stay safe and don't play in the street.


Monday, May 16, 2016

Creamy Peanut Butter and 2-ply Cardboard

If you woke up this morning thinking 'Maybe today Smash Mouth will make their big comeback and I'll get to see them in concert' today is not your day.


But if you woke up thinking 'Gee I hope that guy who writes about using a DeWalt grinder wrote something today' I have some good news and I have some bad news. I wrote something, but it's not about using a DeWalt grinder. 

As you may remember, Grace lives in Oma's garage. Oma is my wife's grandma. She's a little old five foot German lady who tells us stories about being a kid during the Second World War. She always apologizes for boring me, but I love it. I lived in Germany for two years, so I've been able to hear a lot of stories from people who grew up on both sides of the conflict. 

Grace's current home, Oma's garage
I've gotten off topic but to bring it back around, Oma's garage  has carpet and a few things stored in it, so no grinding or welding happens in there. This week was just a few hours of odds and ends.

The turbo oil feed line sits in an area which is hotter than I had expected. The aluminum hose end had a plastic retainer, which as you can see, has not fared well. The tubing in the 90 degree bend also twisted a bit when I tightened the end. I decided it would be best to replace this fitting with a steel fitting for a bit more durability.


In the last installment I showed my speedometer and boost gauge mounted. This week I wired them up so that the lights would work, and added a temperature gauge. I'm still rolling with the extra fancy 2-ply cardboard instrument panel.


The final item I addressed this week was the coilover adjustment. Ever since this car has been on the road, it has had an incredibly harsh ride, and poor handling. While building the exhaust I realized this was because my car had about as much suspension up-travel the Ford Raptor shown below.


In reality, the suspension could compress about 3/4" before hitting the bumpstops, as you can kinda-sorta see in the picture below. The black urethane bumpstop is inside the coil spring. I figured if I adjusted the spring collar, and increased the pre-load on the spring, that would increase ride height enough to ensure a smooth ride. 


The coilover wrenches I picked up on eBay for a few bucks did the trick. It was an intense workout to rotate each spring collar 8 times and raise the car about an inch, but it was definitely worth it. I only had time to adjust the rear as you can see below, but already the ride is much smoother and more confident. When I get a little time I'll adjust the front as well and it will be riding as smooth as the finest imported peanut butters.

rear coilovers adjusted, fronts as installed

Today's update was short, but hopefully worth your time. Keep dreaming of a new Smashmouth album, and debating the important things, like how creamy peanut butter is better than chunky. 


Monday, February 29, 2016

John Stockton from the top of the key

Now that the fiscal year has ended at work, Grace and I get to hang out a little more often. Now that she's getting to the point where she's a real car, and I like my teeth where they are (in my mouth, and not in a dashboard) I decided it was time to put some 3 point seatbelts in her. The original bench seats had lap belts only, but in the interest of dental preservation I chose to upgrade.


You might wonder why I'm not putting racing harnesses in this car. Something many people don't realize is that racing harnesses in a street car can be very dangerous for a number of reasons. To use racing harnesses, you need to have a roll cage, or roll bar at minimum, as well as proper race seats. If a car has a roll cage, it can be dangerous to drive it without a helmet. With safety you can take one of two approaches, either race car or street car, and mixing the two can be dangerous. While Grace may visit a track from time to time, she is a street car, not a race car.


Shoulder Strap Anchor
B-pillar with trim panel removed


Retractor Assembly Mount


In order to make room for exhaust pipe routing under the middle of the car, I added an arch to the transmission crossmember. 


The exhaust pipe routing will move inboard, under the transmission crossmember. While I had the car up in the air, I took a few minutes to check muffler fitment. It fits. I like it.


Congratulations. You made it to the end of the post. Please accept this picture as a token of my gratitude.

source: scorpiondagger.tumblr.com

And on that note, I'm out.


Monday, January 25, 2016

I've got this place that I've filled with empty space

Much like the mighty grizzly emerges from hibernation, this blog is slowly emerging from the slumber induced by my wedding and honeymoon. 

The word "honeymoon" comes from the old Germanic tradition of
mooning one's honey on the first day of honeymoon


First off, build-threads.com posted the top 10 most popular posts of 2015 and I was completely stoked to see that this project came in at #10. Read the article here.


A couple months ago, while still working on the Ranger project, I took Grace for a drive to capture some video and audio (which turned out to be nothing but wind noise). As I was getting on the freeway at full throttle, something went wrong. I suddenly smelled and saw oil smoke and it seemed like it was overheating. I took it easy and got off the next exit. I shut the engine down and contemplated the depth and breadth of the universe as the engine cooled off. Restarting was hard, power was low, and the exhaust was full of oil smoke. 

Grace sat for several weeks as I completed the Ranger project, which by the way, successfully made the long journey from Pasadena, California to Provo, Utah over Christmas break. Finally about a week before the wedding, I got a chance to attend to the ailing Falcon. I suspected a head gasket might be the reason for Grace's health issues, so I got out the compression tester. When the readings came out at 158, 138, 157 and 155 psi on cylinders 1, 2, 3, and 4 respectively, I was optimistic that the issue was a $13 head gasket while simultaneously praying it wasn't a melted piston.

Oily misfiring plug from cylinder #2
Carbon coated plug due to rich mixture
New spark plug, the old ones were due for replacement
Braided nylon coating on turbo oil feed was damaging the wiring
Peek-a-boo!

When I got the intake manifold off, I could very clearly see where the ol girl had puked a gasket. With the head removed I could get a good look at the gasket damage, and the fire ring had pushed all the way out to the oil drain channel, which would explain the oily smoke. I slapped in a new gasket and Grace was happier than a Chinese firework vendor on the Fourth of July.


Fast forward almost two months to mid-January and I'm now the happy Chinese firework vendor because I get some time to work on the car. Grace lives in my wife's Grandma's garage which for some unexplicable reason has tile and carpet on the floor. I half expected there to be a toilet in the corner. In any case, it's not a place where I am able to fabricate. Thankfully, my old roommate Vaughn is willing to let me use the old carport as a workspace from time to time in exchange for Dewskis.

One issue in dire need of attention was that of the vibrations transmitted into the body by the engine. Being an inline four without balance shafts, it has a ton of inherent vibrations. At times, riding in the car was about as pleasant as hanging out in the expansion chamber of a two-stroke bike. The reverberation of the body panels were enough to give me a headache, and I'd wear earplugs any time I drove the car for more than about ten minutes. I decided I would remake the engine mounting bracketry to use the stock style motor mounts for a Ford Ranger with the 2.3. I figured if the damping characteristics of those mounts were good enough for Ford engineers, they would be good enough for me.

Left: new ranger style motor mount  Right: old polyurethane bushing mouts
The size difference should give a clue as to which is more effective in vibration isolation

Passenger's Side
old motor mount bracketry
Cutting frame brackets off

Tacking new mounts in place
New welded motor mount bracket
Bottom view
Finished and installed
Driver's Side

Using g my favorite old trick: cardboard fabrication 
Cutting old bracket off
Bracket needed a slight bend, so I scored it, bent, and welded the gap

Gusset added and installed

Even before I started this project, I knew I was going to have to get a new transmission. The bearings were noisy, and syncros were getting to be oh so crunchy. I knew I did not want to get yet another junkyard transmission since I'd been through three or four of those, so I looked at aftermarket options. I liked the idea of a Tremec T56 6-speed, but they can be a bit heavy and expensive, and the gearing was a bit high for my application, so I would probably have to eventuallly re-gear the rear end. The gearing and price issue was also true of the TKO 5-speed option. In the end I decided a rebuilt T-5 from a V8 Mustang would be my best option. I called Tony at Astro Performance Warehouse to discuss my options. I wanted a bit higher gearing since my 3.97:1 gear ratio was too low, so I decided to switch to a 3.35 first gear ration. This transmission also made the overdrive a bit taller ratio, going from .79 to .68, which should bring the cruising RPM down a bit.

I ordered the transmission last year, and it showed up right about the same time as the wedding, so it sat at my old house and waited for it's time. On Friday I was talking with my all-American friend Andrew (Andrew loves monster trucks, drag racing, and BBQ. Seriously, he loves BBQ more than anyone I know) and he said he wanted to get out of the house. I told him he was in luck because I knew of a car that needed a transmission swapped. With his assistance I got the transmission out and changed in no time. 

Andrew, while similar in appearance to the author, is a separate entity


Unfortunately I didn't get the engine back up and running, because I ran out of time. Before Andrew came over to assist, I spent a couple hours fabricating a new transmission crossmember, instead of getting the engine ready for removal. The new mount is usable, but not finished. I will add an arch in the passenger's side of the crossmember to provide clearance for the exhaust system, which I will soon re-route and finish.

Top: old crossmember  Bottom:new crossmember


In the meantime, enjoy this fine gif Google made from my wedding and a fastback Falcon I found on Facebook.