Sunday, July 5, 2020

Inner Beauty


Grace is an old girl with a lot of charm, and while her exterior is absolutely perfect, it's what's on the inside that counts, right? The time has finally come to do a little interior work. In my old age, I'm appreciating the finer things in life like cars that have door seals, and dash pads that haven't had cracks for longer than I've been alive.


I started by stripping out the whole interior, save for wiring and steering wheel. The condition of everything not made of metal is about what you'd expect of 58 year old items left to bake in the sun. The dash pad basically crumbled in my hand as I pulled it out.

This speaker is able to play The Beach Boys hits at the ideal volume for optimal car show enjoyment

With the dash pad, windshield trim, dash trim, knobs, radio, glove box door all removed, I proceeded to the seats, carpet and seatbelts


Now that everything was put of the car, I could do the first step, which was to prep the floor pan for paint. I had been dreading this part of the literally for years. I hate paint prep, it's nasty tedious work and I was worried I'd be at it for hours on end. A few years ago, I did a little bit of work on the floorboards that confirmed this suspicion. Thankfully this time, I saw something online recommending Harbor Freight wire wheels for stripping away paint and crud so I figured I'd give it a shot. Harbor Freight delivered.


The "before" picture


Have you heard?  There is a shortage of N95 masks. Something about a virus?

These fine wire wheels made the paint and rust removal go very quickly, I was pleasantly surprised. Previously I had only used DeWalt thick wire wheels, and while they were very durable, they didn't do the job nearly as well. At 4-5 dollars a piece, they are well worth the money. I must add a word of warning: ALWAYS WEAR PROTECTIVE EQUIPMENT. These wire wheels shed many wires at high speed. They'll stick in your clothes, occasionally your skin, and if you don't wear safety glasses, your eyes. I'm not the smartest man, but I ALWAYS wear safety glasses anytime I'm running an angle grinder. Eyes are cool, protect them.

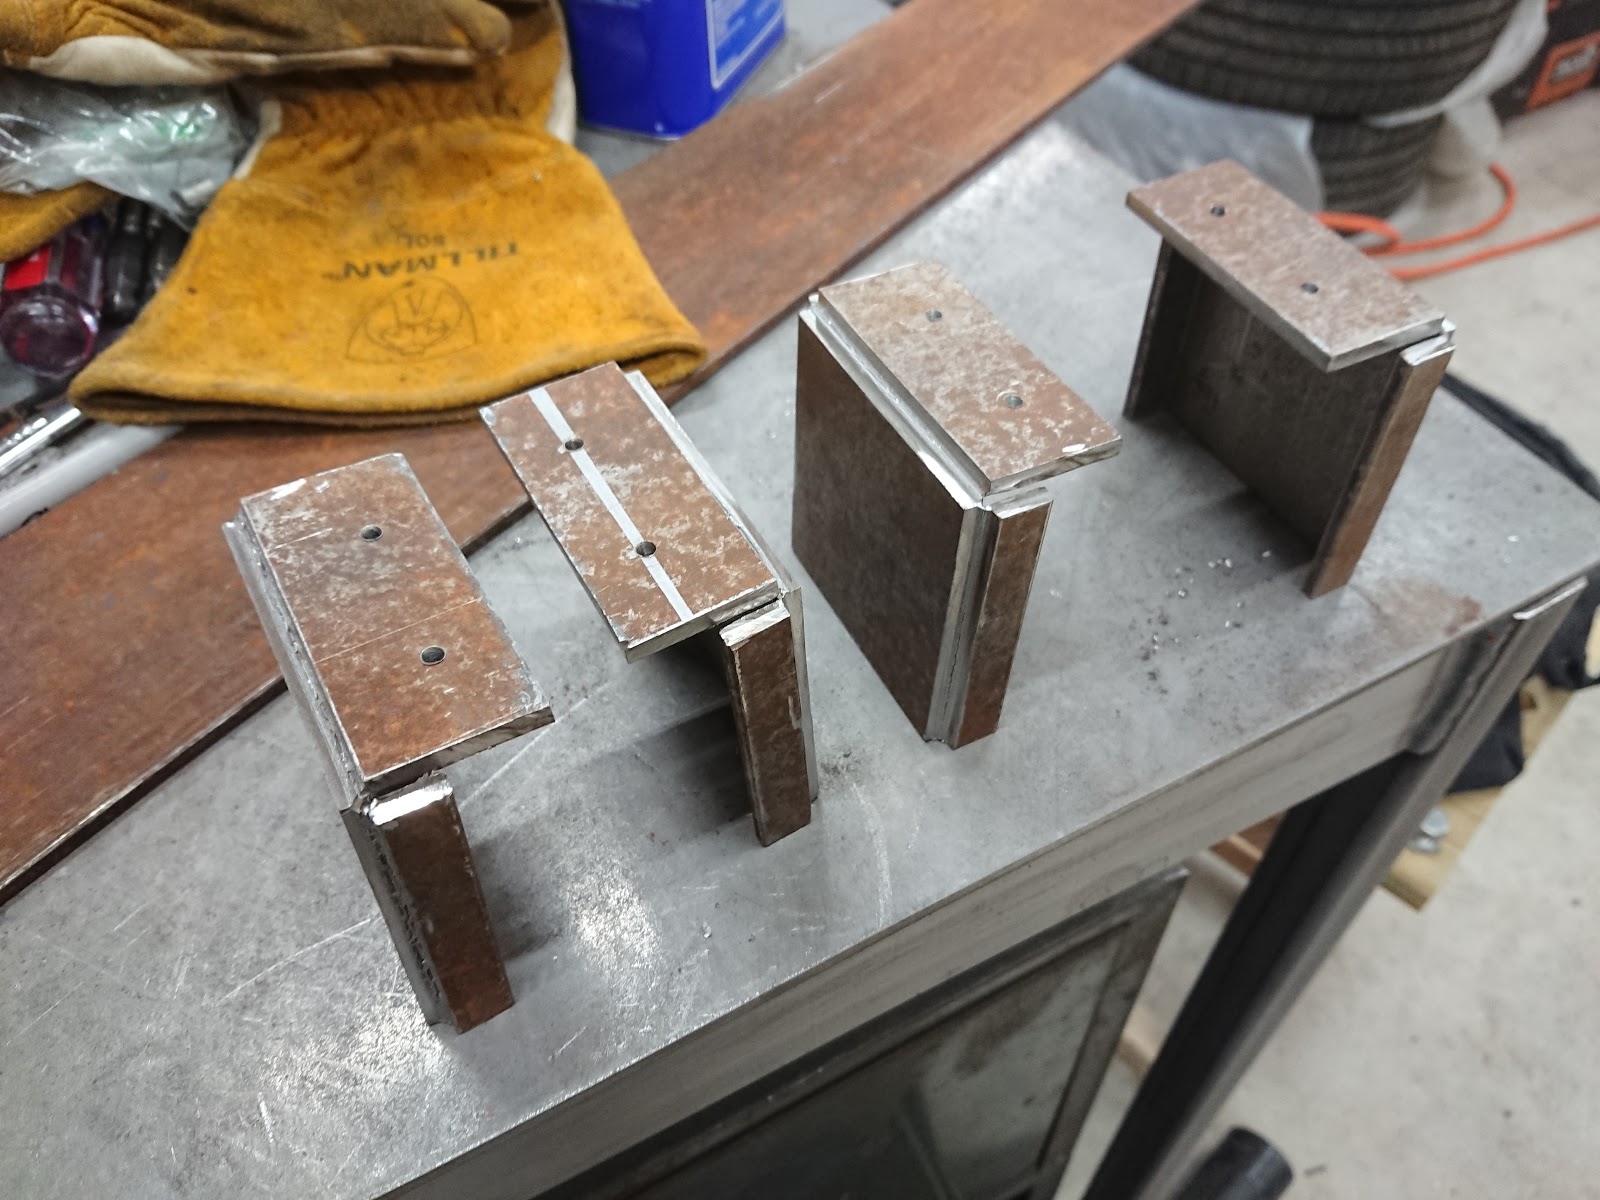
The plan has always been to paint the floor pans with POR 15. POR 15 is an incredibly durable paint, but it requires a ton of very careful prep. If you don't follow the process, it's a terrible paint. I only wanted to do this once, so I decided that I should make sure everything on the floor pan was final. One thing that has bothered me for a long time was the front bucket seat mounts. When I first built them, I made them an inch too short, and later had to add in an extra inch of material.While this was functional they were sloppy, and I wanted to do them right. So out came the angle grinder, and I got to work.
Falcon sheet metal is not particularly thick nor rigid, so I welded new 1/8 steel seat mount supports


Rule 1 of internet welding (or dating), only show your good side
New on top vs old on bottom
Floor pan fully wire brushed with new mounts welded in.

This little detour took entirely too long. It was probably a month's worth of evenings a couple times per week. With the new (much more attractive) solid seat mounts welded in, I then went through the paint prep process. First, I vacuumed the remaining crud out of the floor pan, which was followed by blowing compressed air in all the nooks and crannies of the interior sheet metal. Repeat 7x. Then I used the POR 15 degreaser compound to scrub any remaining dust, dirt, grime, or vaporized seam sealer from the floor pan. I rinsed the pan. Immediately thereafter, I applied POR 15 Metal Prep. It's some combination of acid and zinc which etches and coats the metal. This has to stay damp for 20 minutes at least, and is then rinsed. Before applying paint, the metal must be bone dry. I waited two days and then brushed and rolled two coats of gray POR 15 to the pan.

It's supposed to look like this, I promise!


Ahhh, much better

I think it came out quite nicely. If my prep work did it's job, I should have an impermeable coating on the floor pan which won't rust, even if it somehow ends up constantly wet (as is often the case when a window seal leaks and soaks the carpet padding in an old car).

With this step finally complete, I was able to apply some sound dampener tiles to my floor. This is a product known to generically as "Dynamat" or sound deadener, and it is almost always used incorrectly.  Most users assume that this material blocks noise from entering the vehicle. In reality it is simply to keep body panels from resonating and amplifying structure-borne vibrations. The engine, tires, exhaust, transmission, or even fuel pump can cause this vibration and if it matches with the natural frequency of a body panel, it will amplify the sound. When these tiles are applied, the butyl rubber on the back absorbs these vibrations and turns them into the tiniest bit of heat. The aluminum foil on the face protects the butyl and keeps it from sticking to everything it comes in contact with. The flat areas of the body structure get about 25-30% coverage with this material, any more than this is a bit of a waste as it typically doesn't further improve vibration damping performance.

I had purchased damper material from Sound Deadener Showdown four or more years ago, with high hopes of using it soon. Better late than never I suppose. Sound Deadener Showdown has since shut down operations unfortunately as the operator of the site has retired. It is however still a fantastic resource for anyone looking to improve the noise level of their car interior.


Thick aluminum foil on top, butyl rubber on bottom


Will I do more? Or is this enough. There's only one way to know!

Monday, April 6, 2020

How to Eat an Elephant

Hey there gang. (I mean that only as a casual greeting, this is not a newsletter for illicit gang related activities) In the last post I got old Grace running on all cylinders. I even drove her around the block that week. After that was done, I took some time away from the garage. It seems my wife felt that I spent too much time out there and she may have been right. Anyway, fast forward a couple months, and I headed back out to work on actually getting the car actually road worthy.

When I put the 5.0 in, I moved the transmission and motor forward 3" (to the factory mounting location for a V8 Falcon) from where the old 2.3L had been. This meant that the clearance between the water pump an cooling fan got a lot tighter. My old shroud was about 2.5" thick, so I wanted the thinnest fan shroud I could get. 3/4" was about as thin as was practical. I could not find anyone who sold a fan shroud like that, so like usual, I hatched a plan to build it.

The main problem I had was that I don't have a sheet metal brake, and I don't know anyone who does. I considered getting a membership to one of those "maker" shops that let you use a shop for whatever you want to build. While that would be fun, they aren't cheap and you end up having to get trained on every piece of equipment, which seemed like a pain just to make a fan shroud. 


Shroud bending in progress
Thankfully, while watching youtube one day, I saw a video that reminded me that a hydraulic press can be used to bend metal. I had almost all the metal scrap I needed, and only had to buy about five dollars worth of metal.


The end result was definitely not show-quality, but nothing on this car is, so it fit in just fine. I fired up the aluminum welding spool gun on my MIG and welded some standoffs to mount the shroud.


I then cut the shroud to fit the fan and mounted it. Even with the slim shroud, I was lacking clearance. The water pump had a threaded nub for mounting a mechanical fan. I cut the threaded portion (about 1" off) and ended up with about 1/2-3/4" clearance between the water pump and fan. When I first installed it, it wasn't activating, so I had to check the ECU hardware setup and re-configure some software settings in the ECU.


The coolant system capacity is pretty huge on this car. When I filled it up initially, the 2.5 gallons I had on hand didn't quite top it off. I recently remembered that I have a secret stash under the workbench, so I pulled it out and finished the job.


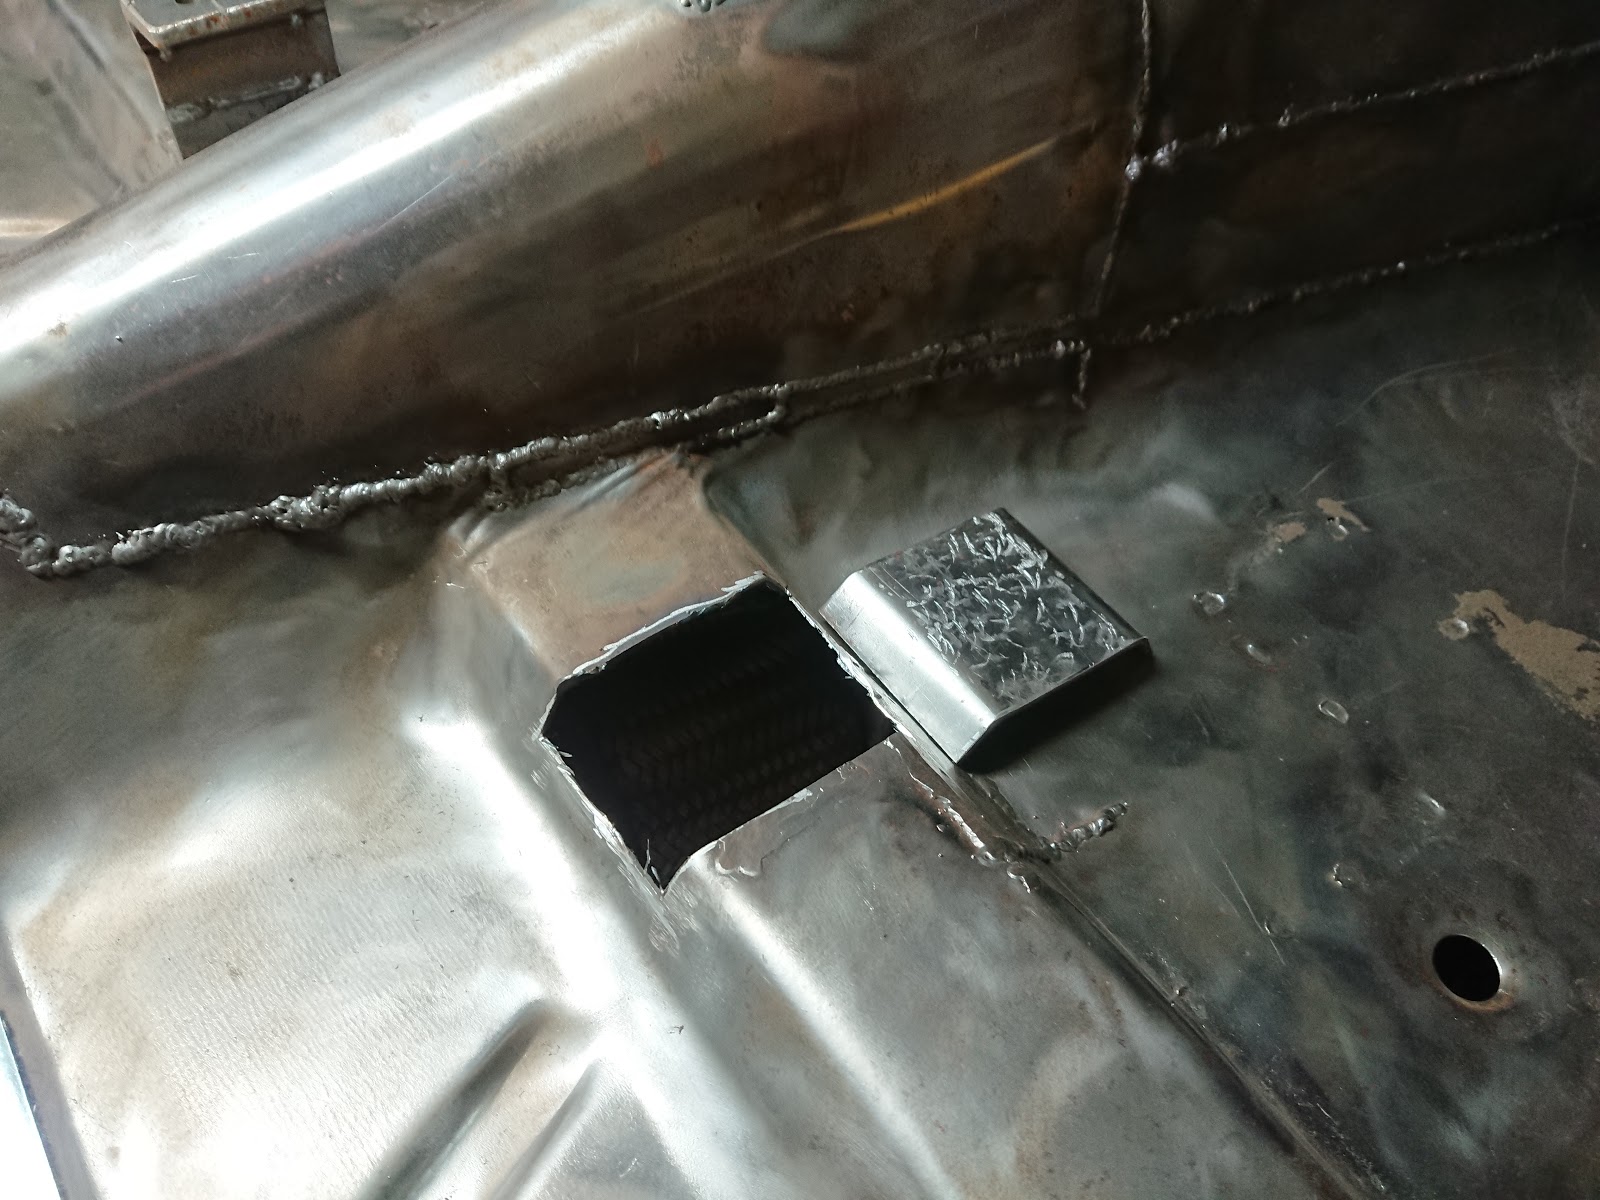
On thing I had noticed when driving around the block was that the fumes from the paint burning off the headers flowed nicely into the cabin on account of the massive shifter hole. Once again, moving the transmission forward gave me more work to do. The main difficulty in this process was not starting the carpet on fire.


Two and a half years ago I noticed that my front brakes didn't grab quite like they should. I tried a couple things to improve them, but wasn't successful. I figured I should actually check brake line pressure to see if I was making enough pressure to actually stop. My brake system has two parallel master cylinders, and the braking bias from front to rear can be adjusted with the linkage that connects them, which is called a balance bar. Brake pressures should be able to reach 1200 PSI, and pressures below 600 PSI may not stop the car. I found that I was only making about 750 PSI to the front brakes with my initial balance bar setting. I then adjusted the bar fully in one direction an could barely make 600 PSI with all my leg strength. I then adjusted fully the other way and was able to make 1200 PSI maxed out. I'll need to do some follow up testing.


And finally, I got around to syncing the throttles. This took a little time, but wasn't terribly difficult. I then drove the car around the block again. One significant drawback of this intake is that it's intended for larger displacement engines, so it can be pretty touchy. At 1500 RPM, 10% pedal application will give a manifold pressure reading equal to barometric pressure... essentially that is wide open throttle. I have some ideas on how to improve this situation, but I won't get into that right now.


I guess there's one other thing I did. I installed the grille to keep my small and eager helper from shoving a screwdriver into the radiator. A few weeks ago I caught him making a beeline for my very not cheap Cibie headlights with a ball peen hammer.


That's all for now, but stay healthy out there, and here's to hoping there's an economy left when COVID-19 isn't the only thing anyone ever talks about. I'm 60% sure I've had it already, and 60% of the time I'm right every time.


Sunday, January 26, 2020

8/8

I got my ignition coils on Monday, which was MLK day and I was off work, so I installed them, changed the oil, and fired her back up. Enjoy some ear candy.


Grace is running quite good now but I'm a bit concerned about the amount of smoke and it's bluish hue... Seeing that I had the heads rebuilt and the valve seals are new, it's not likely that the oil is coming from the top end. When I had the engine torn down one of the cylinder bores had a lot of taper, so I'm suspecting that the oil is coming past the rings on that cylinder. If that's the case, at least there are a lot of Explorer engines out there in wrecking yards!


Beyond that, I didn't do much on the Falcon project. But seeing that I was off work and the wife and little man were in California, I took the chance to celebrate MLK day the way I'm sure Dr. King would have if he had seen racial equality in his lifetime. I built myself a welding table.


That's all for now. In the meantime stay fresh, cheese bags.

Sunday, January 19, 2020

Three Hundred Sixty-Six Days

First things first, Grace is back! There is a lot of tuning to be done, but as you can see she fired right up on the first try.


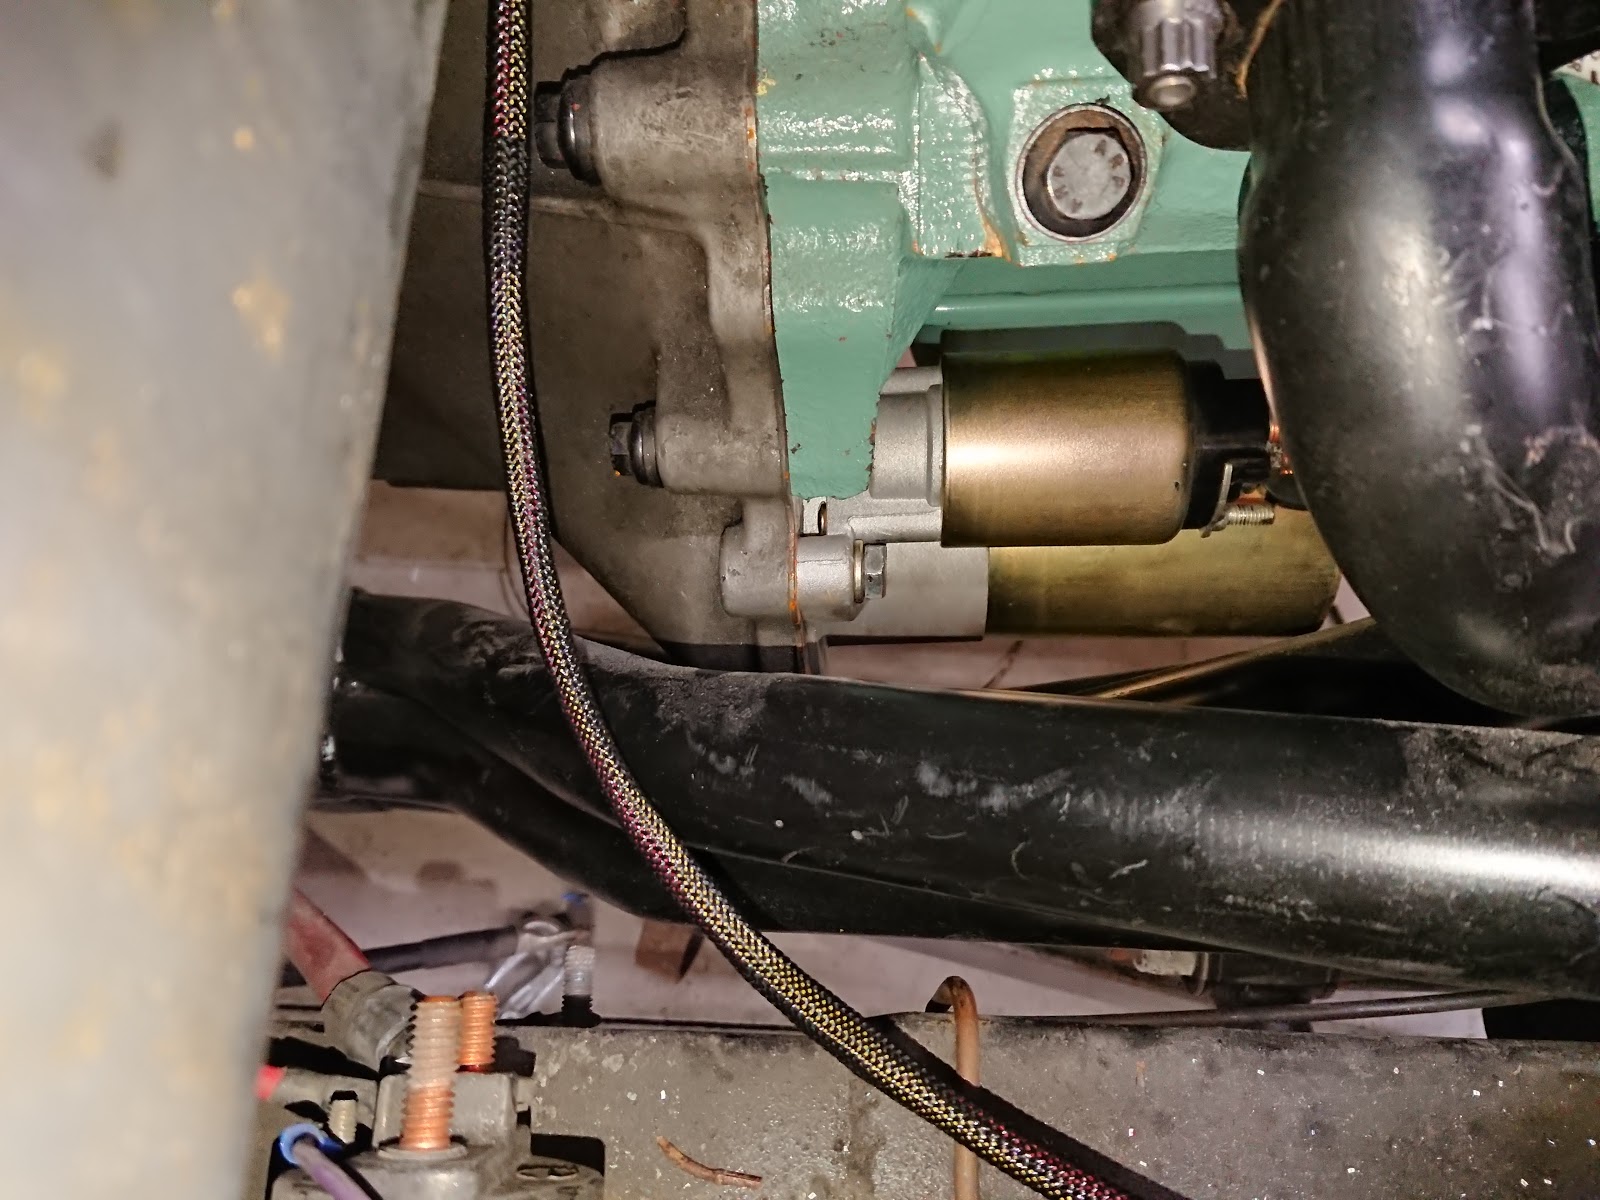
 After completing the wiring harness there were a lot of small odds and ends to complete. I guess I had never re-installed the starter after fitting the engine, so I was pretty surprised when I went to put it in and there was no way it would fit. The starter had three mounting tabs, but only two are used in this application and the extra tab was interfering with the headers. So off it came.


After I cut the tab off, it became very clear that it was not the only part of the starter that interfered with the headers. Since these headers are for a 94-95 mustang, I looked it up and sure enough, it was a different starter design. My old starter was for a Ranger, as well as Fox body Mustang. I got on amazon and found a deeply discounted open box starter, and placed the order.


Now that the starter was in place, I could make cables for the starter. Thankfully had enough cable and lugs leftover from previous projects that I could get right to it. Out came the hydraulic lug crimper and before long I had fully complete and fully sealed starter and alternator charging cables.


Spark plug wires were another custom part I had to make. I had in my head that I needed vintage-look braided spark plug wires. They can be kind of hard to cone by, and eventually I found a company that made just what I needed at a much better price than any competitors. They made a small error on my order, but I called them up the next day and they fixed it right away. I highly recommend The Brillman Company if you are looking for vintage style wiring or spark plug wires.

The kit I ordered needed some modification because my application is a little bit odd, but were used to that sort of thing by now. It just took an hour of cutting, crimping, and wrestling plug boots into place with the help of some dielectric grease.


The last of my items to build was a throttle cable and bracket. I've found that bike brake and shifter cables work well as throttle cables and are cheap, so I don't even bother looking at the Summit or Jegs site when building one. The bracket was fairly simple, just a piece of drilled rod and angle iron welded together.


Before I started her up, there were a few other small things to do, like fuel drain, radiator install,  oil and coolant fill. Those all went pretty quickly and happily, startup was pretty easy. It felt really good to get the engine going on the first try.


However, over the past week since the first start I've become aware of a few issues. First was a minor issue, the valve covers were leaking. The valve covers and the gaskets were just not playing nice together. After getting the engine up to operating temperature, I noticed that the paint had burned off the headers (this was expected) on all but 2 of the cylinders (this was not expected).


Cylinders #2 and #8 still had bright shiny paint, which meant that they never got hot. It might seem strange that 2 cylinders would have this problem, until you realize that cylinders #2 and #8 are paired together in the ignition system. My ECU can have up to 6 ignition outputs, which isnt enough to have one output per cylinder, so I paired cylinders that were opposite in the firing order. A setup like this is called waste spark because the spark plug fires on the compression stroke and exhaust stroke.The exhaust spark is "wasted". The only drawback is that it may limit your RPM (I think this won't allow me to run faster than 10,000 rpm or so) and the coils fire twice as often, so the coil and plug life could theoretically be reduced.


Anyway, once I figured out that the problem was related to this spark output, I took a look at the ECU. I quickly realized that while I was soldering on the ECU board, I had forgotten to build a transistor circuit to trigger these coils. I got the soldering iron out, along with the resistors and transistors I keep on hand for occasions like this. Everybody does, right? Unfortunately, a now-functional coil trigger circuit was not the cure for all my problems. Apparently my goof with the transistor circuit fried my coils. I am able to trigger other coils with this spark output, but coils #2 and #8 are unresponsive. I've got some Amazon cheapo coils on the way and we'll go from there when they arrive.

I have one factoid to share before I hit the "publish" button. Grace was without a running engine for 366 days this time. It was one year and one day from the time I pulled the ailing 4-banger to the time I started the V8. And even on just six cylinders, the V8 is far smoother than the four cylinder ever was. I'm feeling ok about this swap so far.